
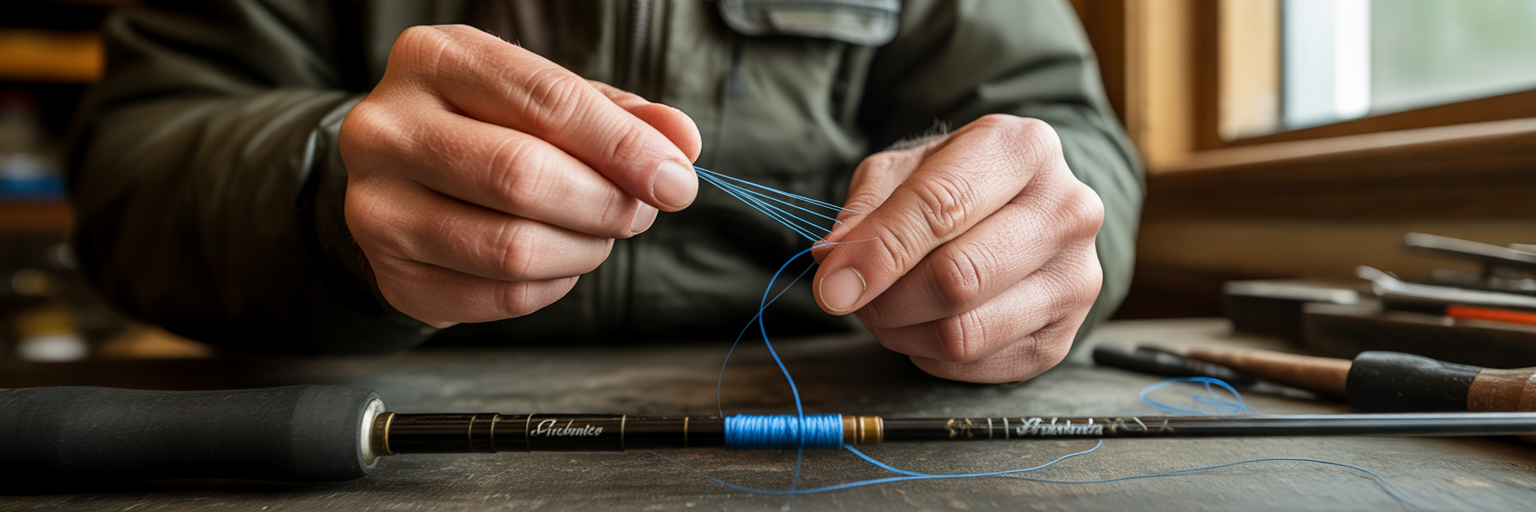
We have all felt it. That gritty, grinding sensation as your line slides through a guide during a retrieve, or the sharp tick on a cast that just does not feel right. A damaged guide is more than a minor annoyance, it is a ticking clock on a potential line break. Learning how to replace a damaged rod guide is a fundamental skill that saves you money and, more importantly, prevents the heartbreak of losing a trophy fish to faulty equipment. This simple repair ensures your gear is always ready for the water.
When to Replace a Damaged Rod Guide
That grating feel is your line telling you something is seriously wrong. A compromised guide acts like a tiny knife, fraying your line with every cast and retrieve. Ignoring it is a gamble that rarely pays off. Before you can fix the problem, you need to know exactly what you are looking for. Sometimes the damage is obvious, but other times it is subtle enough to go unnoticed until it is too late. Anglers often search for how to fix a broken fishing rod eyelet when they encounter these issues, and it all starts with a good inspection.
Run a cotton swab or a piece of nylon stocking through the guide. If it snags, you have found a crack or groove, even if you cannot see it. Look for bent frames that throw off your casting alignment and loose guide feet that wiggle under the thread wraps. These are all signs that a replacement is needed. To get the right part, measure the inside diameter of the guide’s ring and the outside diameter of the rod blank where the guide will sit. Most tackle shops can help you find a match with these two simple measurements.
| Type of Damage | What to Look For | Risk to Your Fishing |
|---|---|---|
| Cracked or Missing Insert | A visible crack, chip, or gap in the inner ceramic ring. | High. Acts like a knife, shredding line and causing break-offs. |
| Grooved Insert | A worn channel in the ring where the line runs. | High. Fraying and weakening the line over time. |
| Bent Guide Frame | The metal frame is bent out of alignment with other guides. | Medium. Affects casting distance and accuracy; can stress the line. |
| Loose Guide Foot | The guide wiggles or moves under its thread wrapping. | Medium. Can lead to guide failure and line tangles during a fight. |
| Corroded Frame | Rust or pitting on the metal frame, common on older rods. | Low to Medium. Can eventually weaken the frame and snag line. |
Gathering Your Repair Tools and Materials
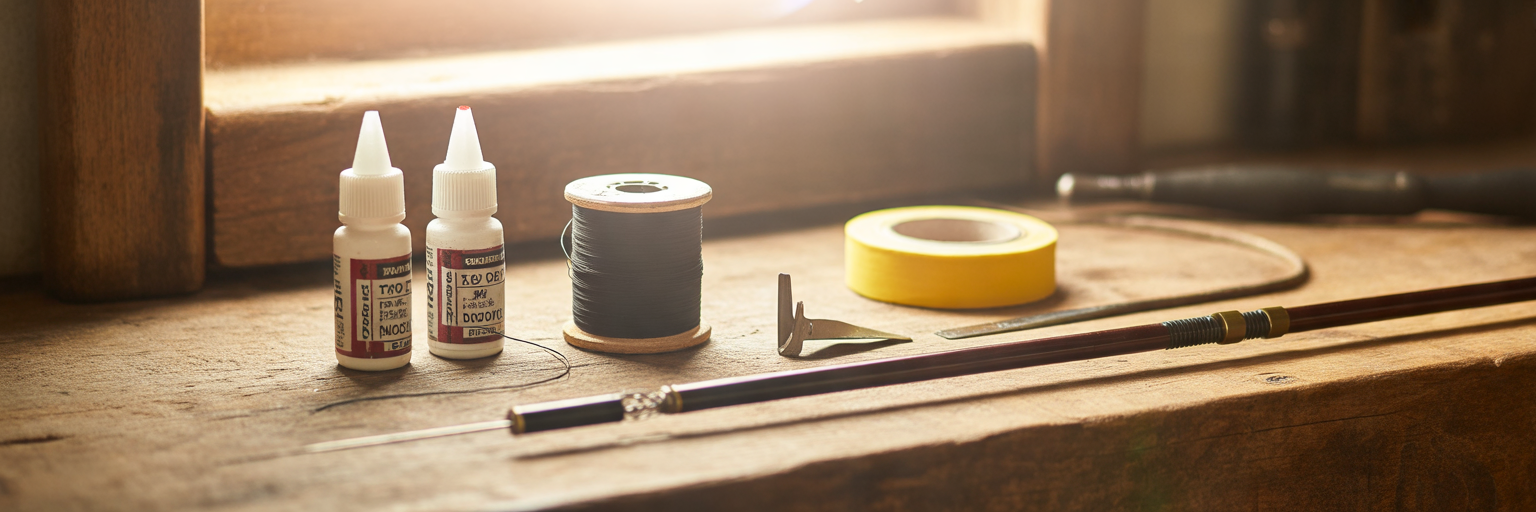
A successful fishing rod repair at home comes down to having the right stuff on hand before you start. You do not need a professional workshop, just a few key items. Many of these can be found in a pre-packaged fishing rod guide replacement kit, which is a great option for your first repair. Set yourself up in a well-lit area with a clean workspace to make the process smooth and simple.
Here is what you will need:
- Replacement Guide: The correct size for your rod.
- Nylon Rod Winding Thread: Size A is a good all-around choice for most freshwater rods.
- Two-Part Rod Building Epoxy Finish: Do not substitute this. Household glues like super glue will crack and fail. A proper rod building epoxy finish is designed to flex with the rod blank.
- Razor Blade or Sharp Craft Knife: For removing the old thread.
- Masking Tape: To hold the new guide in place.
- Light-Grit Sandpaper: 220-grit or finer works well.
- Alcohol and a Clean Cloth: For cleaning the rod blank.
- Small Brush or Spatula: For applying the epoxy.
- Gentle Heat Source: A lighter or alcohol lamp to soften old epoxy.
A Clean Removal of the Old Guide
Getting the old guide off cleanly is the foundation of a good repair. The goal is to remove the guide and its thread wraps without scratching or gouging the rod blank underneath. A damaged blank is a much bigger problem, so take your time here. With a little patience, you will have a clean surface ready for the new guide.
Follow these steps for a clean removal:
- Apply Gentle Heat: Briefly wave a lighter flame over the thread wraps for a few seconds. Do not hold it in one place. You just want to soften the old epoxy, not burn anything.
- Slice the Thread: Carefully use a razor blade to slice through the thread wraps. Always cut on the top of the guide foot, never directly on the rod blank. Think of it like you are shaving the thread off the guide, not carving the rod.
- Peel and Scrape: Once you have sliced through the threads, the old guide should pop off. Use the razor blade or your fingernail to peel away the remaining threads and scrape off any large chunks of old epoxy.
- Final Cleaning: Lightly sand the area to remove any remaining epoxy residue. Be gentle, you only want to create a slightly rough surface for the new finish to grip. Wipe the area clean with a cloth and some rubbing alcohol to remove all dust and oils.
Once the old guide is off, you are one step closer to getting back on the water. When your rod is ready, you will want to have the right tackle, like some of the best bass lures for any season, to make the most of your next trip.
Aligning and Wrapping the New Guide
This is where the real craft comes in. Wrapping a guide is a skill that looks more complicated than it is. The keys are maintaining steady thread tension and ensuring the guide is perfectly straight. A crooked guide will hurt your casting accuracy and can cause uneven line wear. Take your time, and do not be afraid to unwrap and start over if it does not look right.
Preparing the New Guide Foot
Before you place the guide on the rod, take a small file or a piece of sandpaper and slightly bevel the end of the guide foot. You want to create a smooth, gradual ramp. This simple step prevents the thread from catching on a sharp edge and helps create a seamless, professional-looking wrap.
Positioning and Alignment
Place the new guide on the cleaned area of the blank. Use small pieces of masking tape to hold it temporarily in place. Now, hold the rod up and sight down it from the reel seat to the tip, closing one eye. Rotate the guide until it lines up perfectly with the other guides and the reel seat. Perfect alignment is crucial for casting performance, just as choosing the right presentation is key to success in tough conditions. It is all about the details, whether you are repairing a rod or selecting from the best early spring bass lures for cold fronts.
Wrapping the Guide
Now you are ready to learn how to wrap a rod guide. Start your wrap on the blank about a quarter-inch before the guide foot. Lay the tag end of the thread along the blank and make four or five tight wraps over it to lock it in place. Trim the excess tag end. Continue wrapping with firm, even tension, making sure each new wrap sits snugly against the last with no gaps. Wrap up and over the prepared guide foot. Once you are about a quarter-inch from the end of the wrap, create a small loop with a separate piece of thread and lay it on top of your wraps. Continue wrapping over this loop for five or six more turns. Cut your main thread, insert the end through the loop, and pull the loop out from under the wraps. This pulls the tag end through, locking it tightly with no knot. This knotless pull-loop method is a standard in custom rod building, a technique detailed by experts at major rod building suppliers like Mud Hole.
Applying a Professional Epoxy Finish
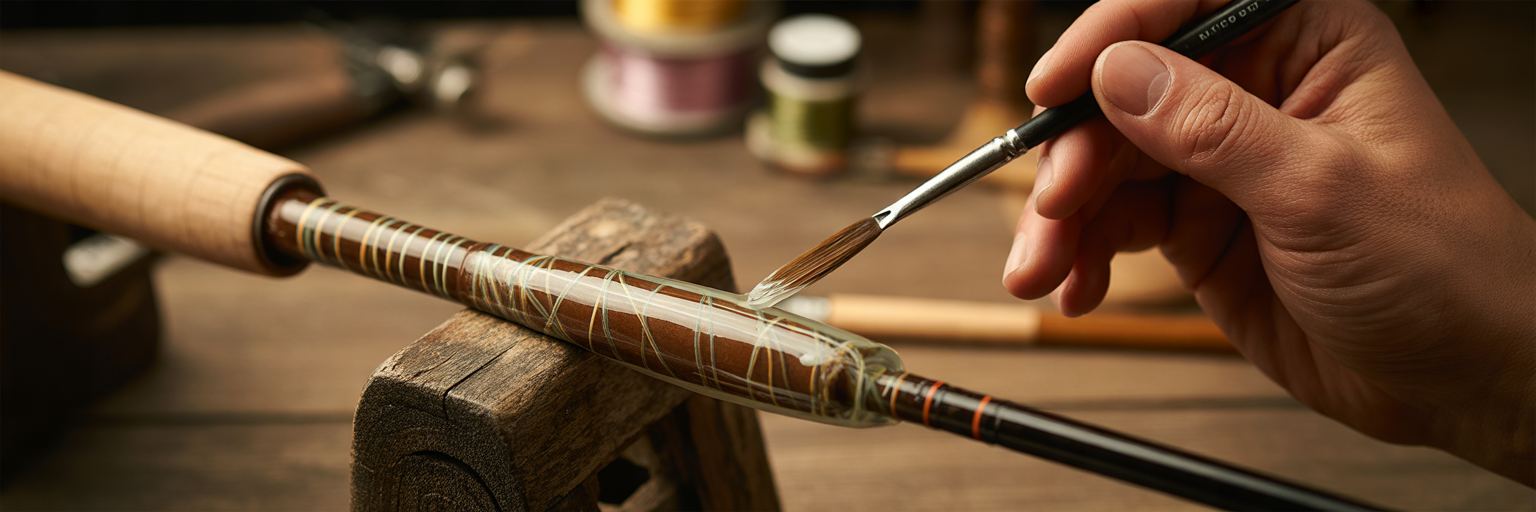
The final step is applying the epoxy finish. This is what protects the threads from water and UV rays and gives the repair its strength and glossy, professional appearance. The most important part of this process is ensuring the rod rotates slowly while the epoxy cures. This allows the finish to self-level, creating a perfectly smooth coating without drips or sags.
Here is how to get it done:
- Mix the Epoxy: Use a dedicated rod building epoxy finish. Mix equal parts of the resin and hardener on a piece of foil or a small dish. Stir slowly and deliberately for at least two minutes to avoid whipping air bubbles into the mixture.
- Apply a Thin Coat: Use a small, disposable brush or a plastic spatula to apply a thin, even coat of epoxy over the thread wraps. Make sure you fully saturate the threads. Extend the finish about a sixteenth of an inch onto the blank on either side of the wrap for a good seal.
- Pop Any Bubbles: After application, you may see a few tiny air bubbles. Briefly and quickly pass the flame from a lighter over the surface of the epoxy. The heat will cause the bubbles to pop.
- Rotate and Cure: This is the critical part. The rod must be rotated continuously for the first few hours as the epoxy sets. While a dedicated rod-drying motor is ideal, a quality fishing rod repair at home is achievable by hand. Simply turn the rod a quarter turn every five to ten minutes for the first two hours, then less frequently after that.
Final Inspection and Curing Time
You are on the home stretch. Once the epoxy is applied, the hardest part is leaving it alone. The finish should be smooth, glossy, and perfectly level, with no drips or high spots. The thread wraps should be completely saturated and transparent, showing the color of the thread beneath.
The most important advice now is to be patient. Even if the epoxy feels hard to the touch after a few hours, it needs at least 24 hours to fully cure and reach its maximum strength. Rushing this step can lead to a soft finish that will fail under pressure. After a full day, perform a gentle flex test on the rod to ensure the repair feels solid. Once it passes inspection, your rod is officially back in business.
Now that your favorite rod is back in action, it is time to plan your next outing. Explore our guides on Fishing Tips Daily to find new waters and put your repair to the test.